Get Started.Step by Step Guide.
Its very easy to setup Business Hours WP on your WordPress Install.
Whether you're a beginner or seasoned user, this guide will lead you through the core steps to unlock the full potential of our software, making business hour management a breeze. Let's get started on this journey together!
Step 1: Install the needed Software


Step 2: Import the ACF Pro Settings
2.1 Open ACF Pro / Tools to see the Import function.
Step 3: Import the Option Page functionality
3.2 Alternative: You can also use another PHP Plugin to implement the Code Functionallity. There are many Plugins out there, for example: WpCodeBox, Advanced Scripts, Scripts Organizer or Code Manager.
If you decided to do use, just use the code from business-hours.code-snippets.php and copy+paste it into your favorite PHP Code Plugin.
3.3 Open the Code Snippets Plugin and import the JSON file acf-options-page.code-snippets.json
3.4 Dont forget to ACTIVATE the new imported Code Snippet.
Step 4: Import the PHP functionality
4.1 Open the Code Snippets Plugin in WordPress and import the JSON file: business-hours.code-snippets.json. It will automatically add the needed funtionality to your Code Snippet Plugin. Dont forget to ACTIVATE the Snippet.
Step 5: Adding your regular Business Days and Business Hours
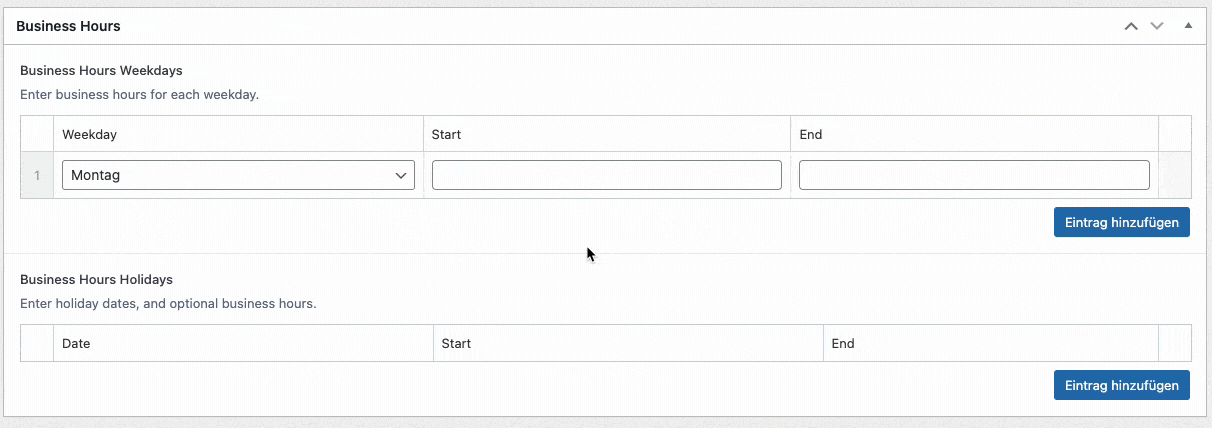
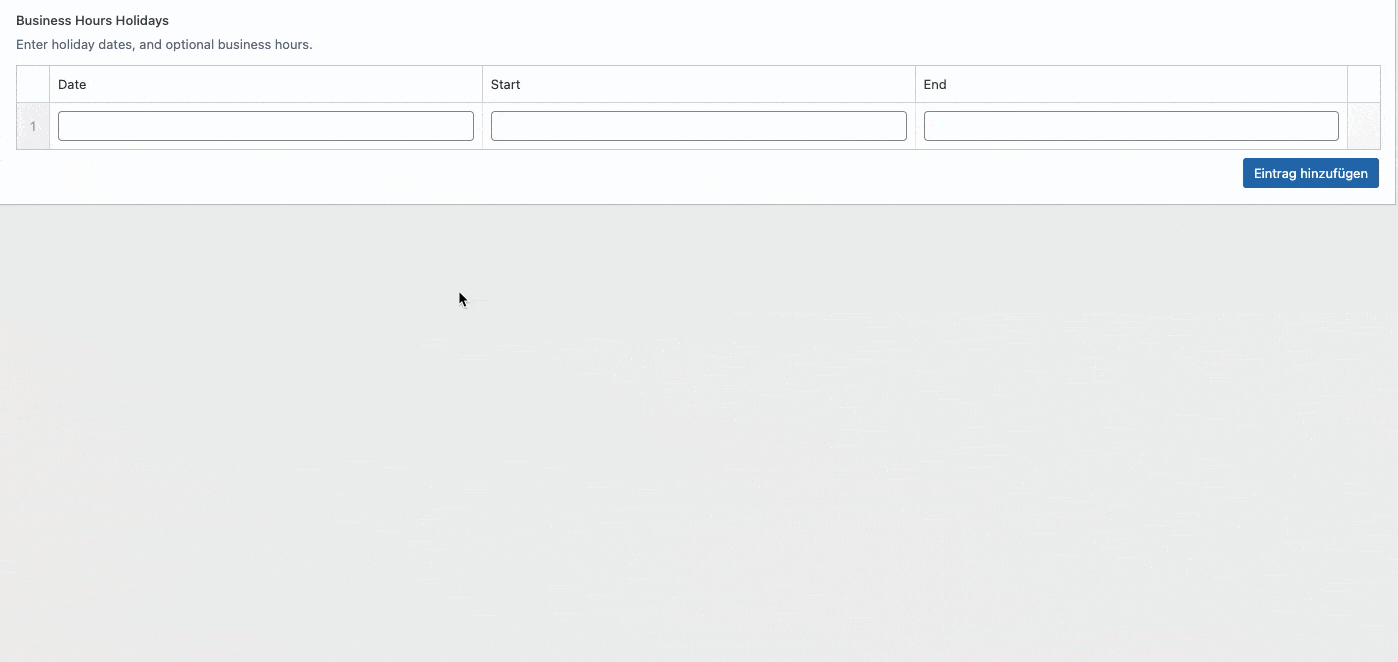
Optional: Step 6: Add exceptions and holidays.
6.1 Add future Holidays and/or exceptions to the settings. On these days and times the Shop is CLOSED.
You can directly set up the settings for the upcoming years, if you want.
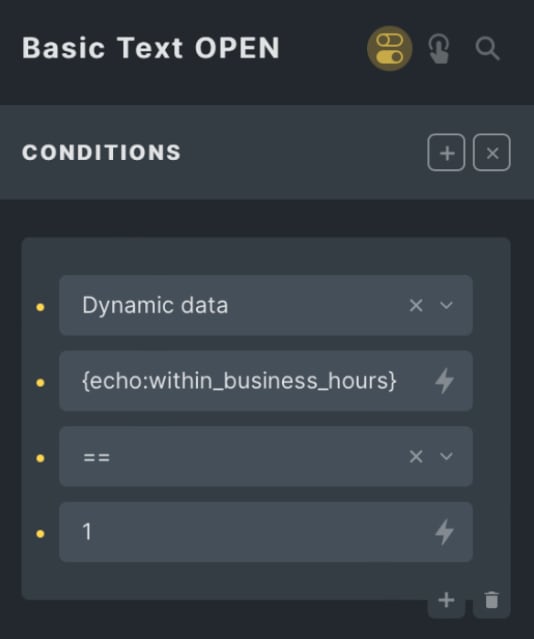
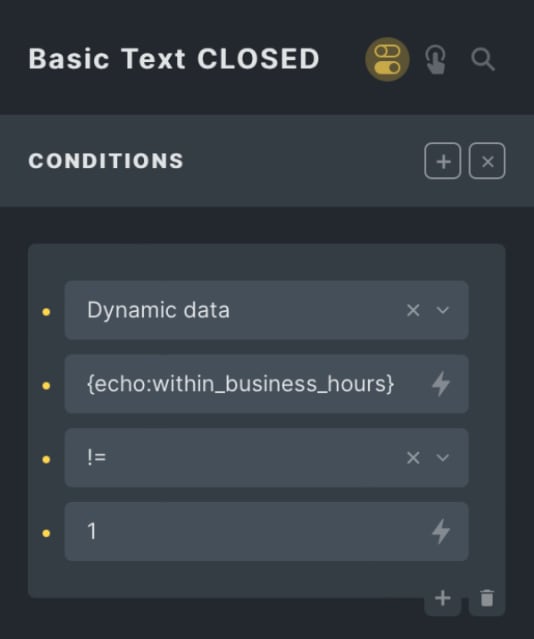
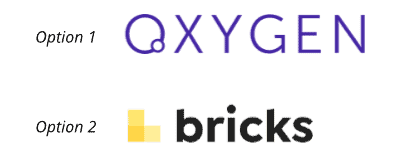
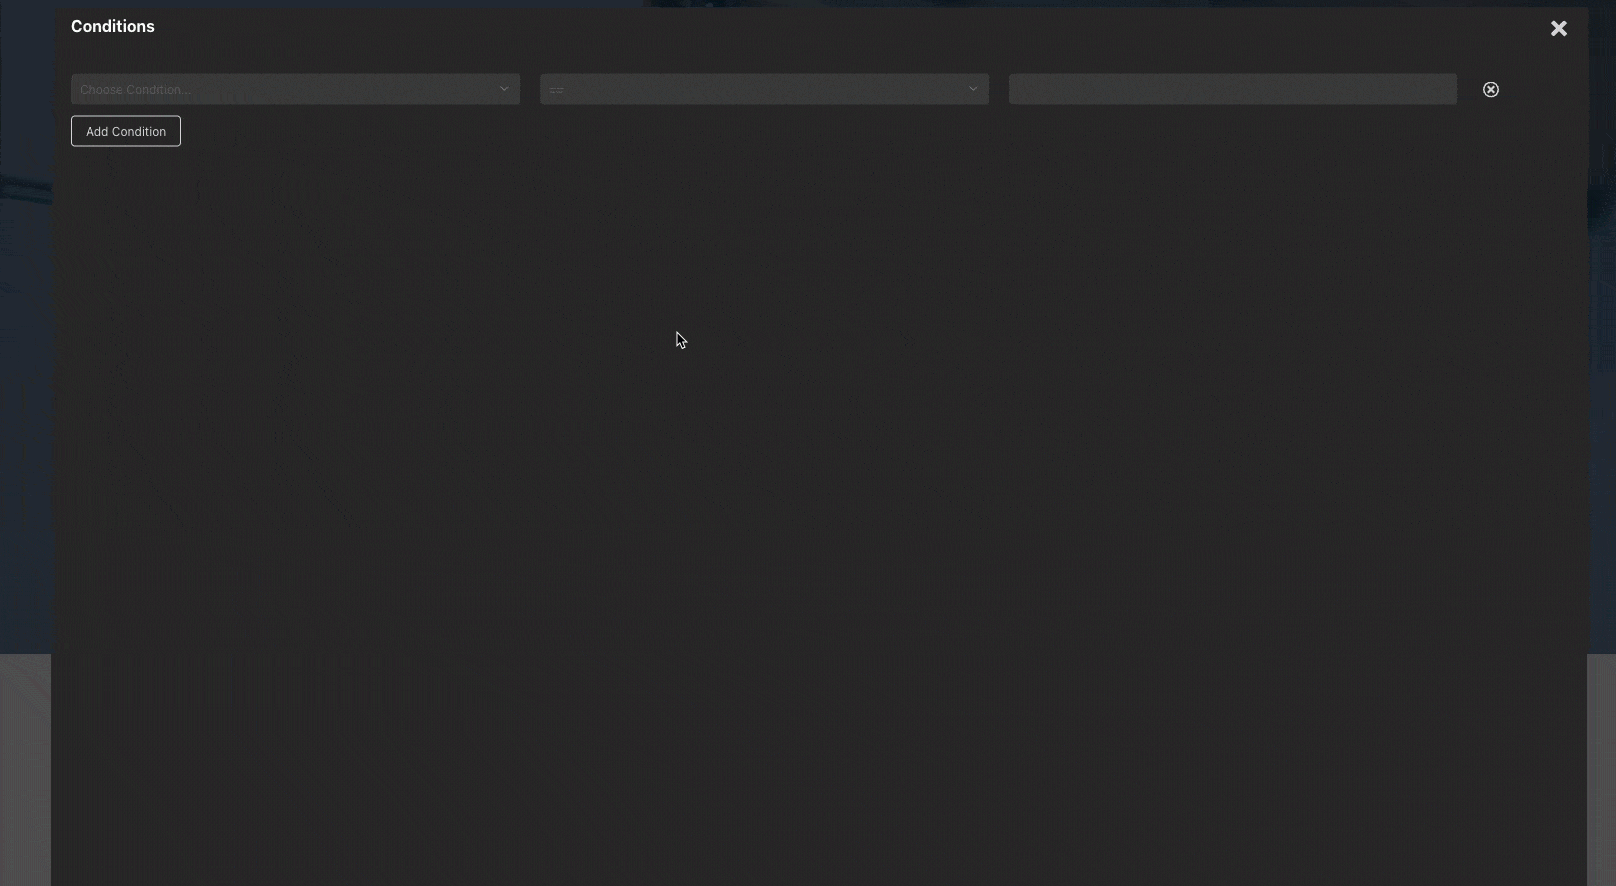
How to use the Condition in Oxygen Builder:
1. Open the Oxygen Builder and click on the element for which you want to add the Business Hours Condition.

or
4. Now add != and 1 into the Value field to show this Element if the Business is CLOSED.

How to use the Condition in Bricks Builder:
1. Open the Bricks Builder and click on the element for which you want to add the Business Hours Condition.
2. Click the Element for which you want to add the Condition.